Choosing the Proper Shock Length
The following table summarizes the stock compressed/extended lengths of the shocks on an XJ (inches):| Front/Rear | Compressed | Extended |
|---|---|---|
| Front | 13.2 | 21.2 |
| Rear | 12.5 | 20 |
In the front, the shocks have a stem-style upper mount and a standard eye-and-bushing lower mount. In the rear, the shocks have an eye-and-bushing mount on both ends.
As for the lengths, this will depend entirely on the amount of lift on the vehicle. Since I have 2 inches of lift on my Jeep, I need shocks that extend an additional 2 inches. So, for the front, the shocks need a range of 13.2 compressed and 23.2 extended. Optionally, extended bump-stops can be installed to increase the compressed length compatibility. For example, with 2 inch bump-stop extensions, I can use shocks that are 15.2 compressed and 23.2 extended. The new shocks can be a bit shorter than the calculated compressed length and a little longer than the extended length, but not the other way around.
Monroe Sensatracs
As recommended by some folks from this Reddit post on /r/CherokeeXJ, I decided to use the shocks listed in this Rock Lizard Fabrications article. To summarize, the lengths of stock Jeep YJ shocks fit nicely up front and stock Jeep Commanche shocks fit nicely in the rear. This, of course, is assuming there is some lift on the vehicle. The following table summarizes the compressed/extended lengths of the shocks I purchased:| Front/Rear | Compressed | Extended | Part # |
|---|---|---|---|
| Front | 14.5 | 24.375 | 37120 |
| Rear | 14.3755 | 23 | 37029 |
Sure, I could have gone with Bilstein 5100 shocks, but I didn't feel like spending $100 per shock. I'm sure they ride much nicer and last a lot longer, but my budget just didn't fit the price. However, I'm very happy with the Monroe Sensatracs for what I paid!
Bar Pin Eliminators
There are several benefits to installing bar pin eliminators (BPE). One of which is never having to deal with those upper rear shock bolts ever again. A BPE basically mounts where the original bolts for the shocks are. Rather than using a bar pin, which is usually hollow and weak, a metal sleeve and bolt will be used to hold the shock in place. This is much stronger and, next time the shocks need to be replaced, only one bolt has to be removed.
Unfortunately, there was a mix up on my order and my rear BPEs never came. So, I just nabbed some bar pins from my local 4-Wheel Parts store and called it a day. For the front lower shock mount, I purchased a Rough Country Jeep Front Bar Pin Eliminator Kit (Part 1088). Eventually, I'll purchase a matching set of BPEs for the rear (Part 1089). I'm very happy with the quality of Rough Country, and they are reasonably priced!
Replacing the Rear Shocks
For a couple of days before removing them, spray all the bolts on the front and rear shocks with PB Blaster. This will reduce the chances of anything breaking. The rear upper shock bolts are attached directly to the body, with welded nuts on the inside right under the carpet. Slowly turn the wrench to undo these. Applying too much force too quickly will increase the chances of them snapping.
If they snap, the well-accepted fix is to knock the old bolt and nut out with a hammer and route some new bolts up through the triangular access hole. Then, the new bolts are fished through the old bolt holes, allowing the shock to be mounted. Another method is to drill them out, similar to the process explained in this Youtube video.

I decided to drill mine out because I wanted to keep the vehicle as stock as possible, despite how painful the drilling process can be. Using a left-handed drill bit set, I started small and worked my way up to the size of the bolt. Once I had drilled it out, I pulled out my trusty Tap and Die Set from Autozone and ran a tap through to clean out the threads. Voila, everything was back to working order.

The new shocks do not come with bar pins installed. So, I had to put them in myself. Just rub some grease on them and muscle them in through the rubber bushing. I held the bar pin in place while my dad applied a little bit of weight with his foot. Another method is to use a table vice to hold the bar pin upright. Then, push down and rotate the shock to twist it in through the rubber bushing.

Now, the shock is ready to be installed. The new shock goes back on the same exact way the old shock came off. Do not reuse any of the old bolts! I replaced them with some Grade 8 bolts and applied plenty of anti-seize to prevent any snapping in the future. Once the upper part of the shock is mounted, cut the strap holding it compressed and let the shock extend. Line up the lower eye of the shock with the mount on the axle and push it through. Finally, put the nut back on the lower mount and tighten it up.


Repeat this on the other side. Congrats! The rear shocks are done!
Replacing the Front Shocks
The front shocks are much easier than the rear. The upper shock stem is held on by a nut underneath the hood. Using a wrench and extension, undo the nut on the driver passenger side and remove the upper rubber bushing. The driver side nut will be hard to reach with a socket wrench because of the brake master cylinder. However, it can still be reached with an old-fashioned crescent wrench. These should come off smoothly because they are hardly exposed to elements.

Next, undo the lower shock bolts. Using a crescent wrench, hold the bolt in place up above the mount. Then, stick a socket wrench underneath the mount to twist out the nut.

With everything removed, the shock should fall out.


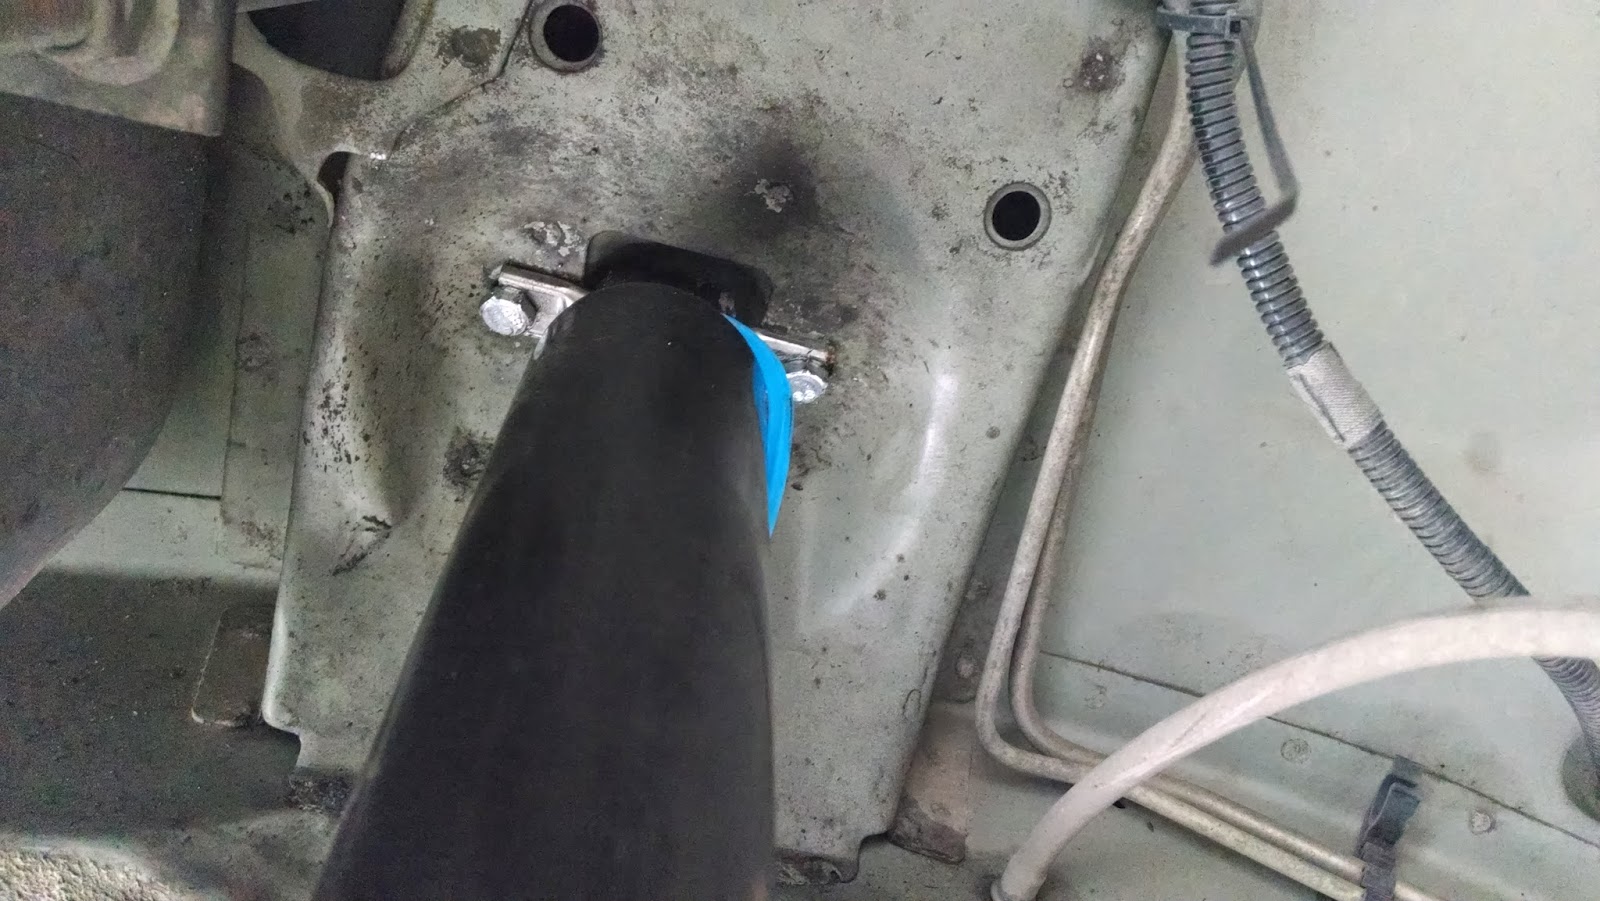
At this point, I installed the front lower bar pin eliminator directly to the shock. I tried installing it on the lower mount first, but I found it difficult to reach the nut opposite the bolt to tighten. So, I installed it on the shock, then installed it on the mount. Either way, I got it on there!


Slip the new lower rubber bushing onto the stem before cutting the compression strap. Once the strap is cut loose, the shock will extend up into the upper mounting hole. Be sure to guide it in. Once stem is all the way through, the upper rubber bushing can be slipped on from under the hood, followed by the nut.
Repeat this on the other side. Congrats! The front shocks are done!
Conclusion
Before I installed the new shocks, I was running the stock shocks with my 2" budget boost. Every time I hit a bump or dip in the road, my shocks would over-extend with a loud metal "thunk". It also rode very rough with the add-a-leaf in the rear. With the new longer shocks, the ride is way smoother on the road (I have yet to take it off road). Rather than "thunking" over bumps and dips, the vehicle bounces, which I prefer.Despite the broken bolts in the rear, the entire job was really easy. Happy wrenching!
2 comments:
Thanks for a great write up. Good to see someone else taking good care of their XJ!
I put Wrangler YJ shocks on the front of my XJ, they were bottoming out all over the place. So I measured the compression. Almost 16.5 inches. So they were pulled off, used on a Suburban 4x4 1500 successfully. The XJ shocks are now bilston, I would prefer KYB.
Post a Comment